hexo搭建github个人博客

使用 hexo 搭建 github个人博客。

安装Hexo

安装node.js

1
2
3
sudo add-apt-repository ppa:chris-lea/node.js
sudo apt-get update
sudo apt-get install nodejs

安装hexo

1
sudo npm install hexo -g

Hexo命令

写博客常用命令

常用:

1
2
3
4
5
hexo new "postName"       #新建文章
hexo new page "pageName" #新建页面
hexo generate #生成静态页面至public目录
hexo server #开启预览访问端口(默认端口4000,'ctrl + c'关闭server)
hexo deploy #将.deploy目录部署到GitHub

简写:

1
2
3
4
hexo n == hexo new
hexo g == hexo generate
hexo s == hexo server
hexo d == hexo deploy

复合:

1
2
hexo deploy -g
hexo server -g

shell 打包命令

写一个shell文件,把上面的命令写到里面,这样就不用每次都敲一遍了,嘿嘿。。。
例如:
创建preview.sh,内容如下,这样就可以直接预览了:

1
2
3
4
#!/bin/bash
hexo clean
hexo g
hexo s

创建push,内容如下,这样就可以push到github了:

1
2
3
4
5
6
7
8
#!/bin/bash
git pull
hexo g
hexo d
git add --all
git commit -m "auto commit"
git push origin hexo
git pull

主题

其他主题安装方法类似

NexT主题配置使用

主题下载

进入博客目录文件

1
git clone https://github.com/iissnan/hexo-theme-next themes/next

修改站点配置文件

配置theme为:next

1
2
3
4
5
6
7
8
9
10
11
12
# Extensions
## Plugins: https://hexo.io/plugins/
## Themes: https://hexo.io/themes/
# theme: landscape
# theme: yilia
# theme: pacman
# theme: jacman
# theme: hexo-theme-next
# theme: uno
# theme: concise
# theme: hexo-theme-freemind
theme: next

修改主题配置

修改Scheme:Mist

1
2
3
4
# Schemes
# scheme: Muse
scheme: Mist
#scheme: Pisces

TOC设置成全部展开

修改 next 主题样式,themes/next/source/css/_common/components/sidebar/sidebar-toc.styl

1
.post-toc .nav .nav-child { display: none; }

修改为:

1
.post-toc .nav .nav-child { display: block; }

效果如图:
201910291528512.png

添加阅读进度

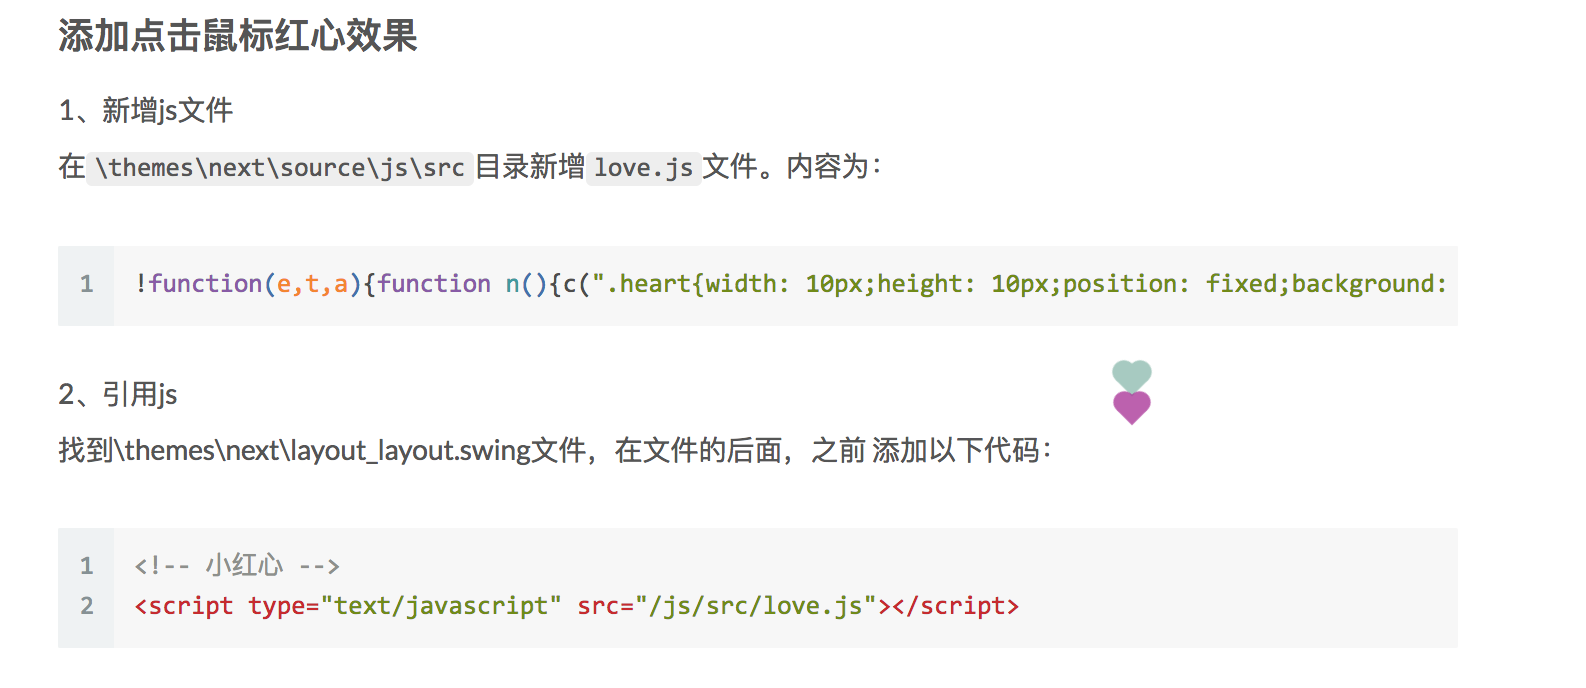
添加点击鼠标红心效果

1、新增js文件
\themes\next\source\js\src目录新增love.js文件。内容为:

1
!function(e,t,a){function n(){c(".heart{width: 10px;height: 10px;position: fixed;background: #f00;transform: rotate(45deg);-webkit-transform: rotate(45deg);-moz-transform: rotate(45deg);}.heart:after,.heart:before{content: '';width: inherit;height: inherit;background: inherit;border-radius: 50%;-webkit-border-radius: 50%;-moz-border-radius: 50%;position: fixed;}.heart:after{top: -5px;}.heart:before{left: -5px;}"),o(),r()}function r(){for(var e=0;e<d.length;e++)d[e].alpha<=0?(t.body.removeChild(d[e].el),d.splice(e,1)):(d[e].y--,d[e].scale+=.004,d[e].alpha-=.013,d[e].el.style.cssText="left:"+d[e].x+"px;top:"+d[e].y+"px;opacity:"+d[e].alpha+";transform:scale("+d[e].scale+","+d[e].scale+") rotate(45deg);background:"+d[e].color+";z-index:99999");requestAnimationFrame(r)}function o(){var t="function"==typeof e.onclick&&e.onclick;e.onclick=function(e){t&&t(),i(e)}}function i(e){var a=t.createElement("div");a.className="heart",d.push({el:a,x:e.clientX-5,y:e.clientY-5,scale:1,alpha:1,color:s()}),t.body.appendChild(a)}function c(e){var a=t.createElement("style");a.type="text/css";try{a.appendChild(t.createTextNode(e))}catch(t){a.styleSheet.cssText=e}t.getElementsByTagName("head")[0].appendChild(a)}function s(){return"rgb("+~~(255*Math.random())+","+~~(255*Math.random())+","+~~(255*Math.random())+")"}var d=[];e.requestAnimationFrame=function(){return e.requestAnimationFrame||e.webkitRequestAnimationFrame||e.mozRequestAnimationFrame||e.oRequestAnimationFrame||e.msRequestAnimationFrame||function(e){setTimeout(e,1e3/60)}}(),n()}(window,document);

2、引用js
找到\themes\next\layout_layout.swing文件,在文件的后面,之前 添加以下代码:

1
2
<!-- 小红心 -->
<script type="text/javascript" src="/js/src/love.js"></script>

20190915093130.png

添加文章阅读数

使用 LeanCloud 添加文章阅读量

1、修改配置:themes/next/_config.yml

1
2
3
4
5
6
# Show number of visitors to each article.
# You can visit https://leancloud.cn get AppID and AppKey.
leancloud_visitors:
enable: true
app_id: 你申请的app_id
app_key: 你申请的app_key

2、修改对应的语言配置(例如我的是汉语):themes/next/languages/zh-Hans.yml

1
2
post:
visitors: 阅读

插件

RSS插件

安装hexo-generator-feed

1
npm install hexo-generator-feed --save

修改站点配置文件

1
2
3
4
5
6
feed:
type: atom
path: atom.xml
limit: 20
hub:
content:

Sitemap插件

给博客生成一个站点地图,提交搜索引擎

1
2
npm install hexo-generator-sitemap --save
npm install hexo-generator-baidu-sitemap --save

修改站点配置

1
2
3
4
5
# 自动生成sitemap
sitemap:
path: sitemap.xml
baidusitemap:
path: baidusitemap.xml

【搜索优化】

Hexo-next百度和谷歌搜索优化

【搜索优化】Hexo-next百度和谷歌搜索优化

搜索插件

集成Algolia

**1.注册Algolia,创建Index **

前往 Algolia 注册页面,注册一个新账户。 可以使用 GitHub 或者 Google 账户直接登录,注册后的 14 天内拥有所有功能(包括收费类别的)。之后若未续费会自动降级为免费账户,免费账户 总共有 10,000 条记录,每月有 100,000 的可以操作数。注册完成后,创建一个新的 Index,这个 Index 将在后面使用。

image

2.安装hexo algolia

Index 创建完成后,此时这个 Index 里未包含任何数据。 接下来需要安装 Hexo Algolia 扩展, 这个扩展的功能是搜集站点的内容并通过 API 发送给 Algolia。前往站点根目录,执行命令安装:

1
npm install --save hexo-algolia

3.设置key,更新站点配置文件

在 Algolia 服务站点上找到需要使用的一些配置的值,包括 ApplicationID、Search API Key、 Admin API Key。注意,Admin API Key 需要保密保存。

image
编辑 站点配置文件,新增以下配置(替换除了 chunkSize 以外的其他字段为在 Algolia 获取到的值):

1
2
3
4
5
6
7
8
algolia:
applicationID: applicationID
apiKey: apiKey
adminApiKey: adminApiKey
indexName: indexName
chunkSize: 5000
filter:
- title

注意:此处的filterAlgoliaSearchable attributes保持一致。

4.更新index

当配置完成,在站点根目录下执行 hexo algolia 来更新 Index。请注意观察命令的输出。

image

5.主题集成

更改主题配置文件,找到 Algolia Search 配置部分,将 enable 改为 true 即可,根据需要你可以调整 labels 中的文本。

1
2
3
4
5
6
7
8
9
10
algolia: true
# Algolia Search
algolia_search:
enable: true
hits:
per_page: 10
labels:
input_placeholder: Search for Posts
hits_empty: "We didn't find any results for the search: ${query}"
hits_stats: "${hits} results found in ${time} ms"

Local Search插件

1.安装 hexo-generator-searchdb,在站点的根目录下执行以下命令:

1
npm install hexo-generator-searchdb --save

2.编辑 站点配置文件,新增以下内容

1
2
3
4
5
search:
path: search.xml
field: post
format: html
limit: 10000

3.编辑 主题配置文件,启用本地搜索功能:

enable修改为:true

1
2
3
4
5
6
7
8
# Local search
local_search:
enable: true
# if auto, trigger search by changing input
# if manual, trigger search by pressing enter key or search button
trigger: auto
# show top n results per article, show all results by setting to -1
top_n_per_article: 1

图片插件

安装

1
npm install https://github.com/CodeFalling/hexo-asset-image -- save

修改站点配置

1
post_asset_folder: true #是否启动资源文件夹

使用

注意,test-image.png放到md文件对应的目录中。格式如下(无需包含路径名):

1
![image](test-image.png)

评论设置

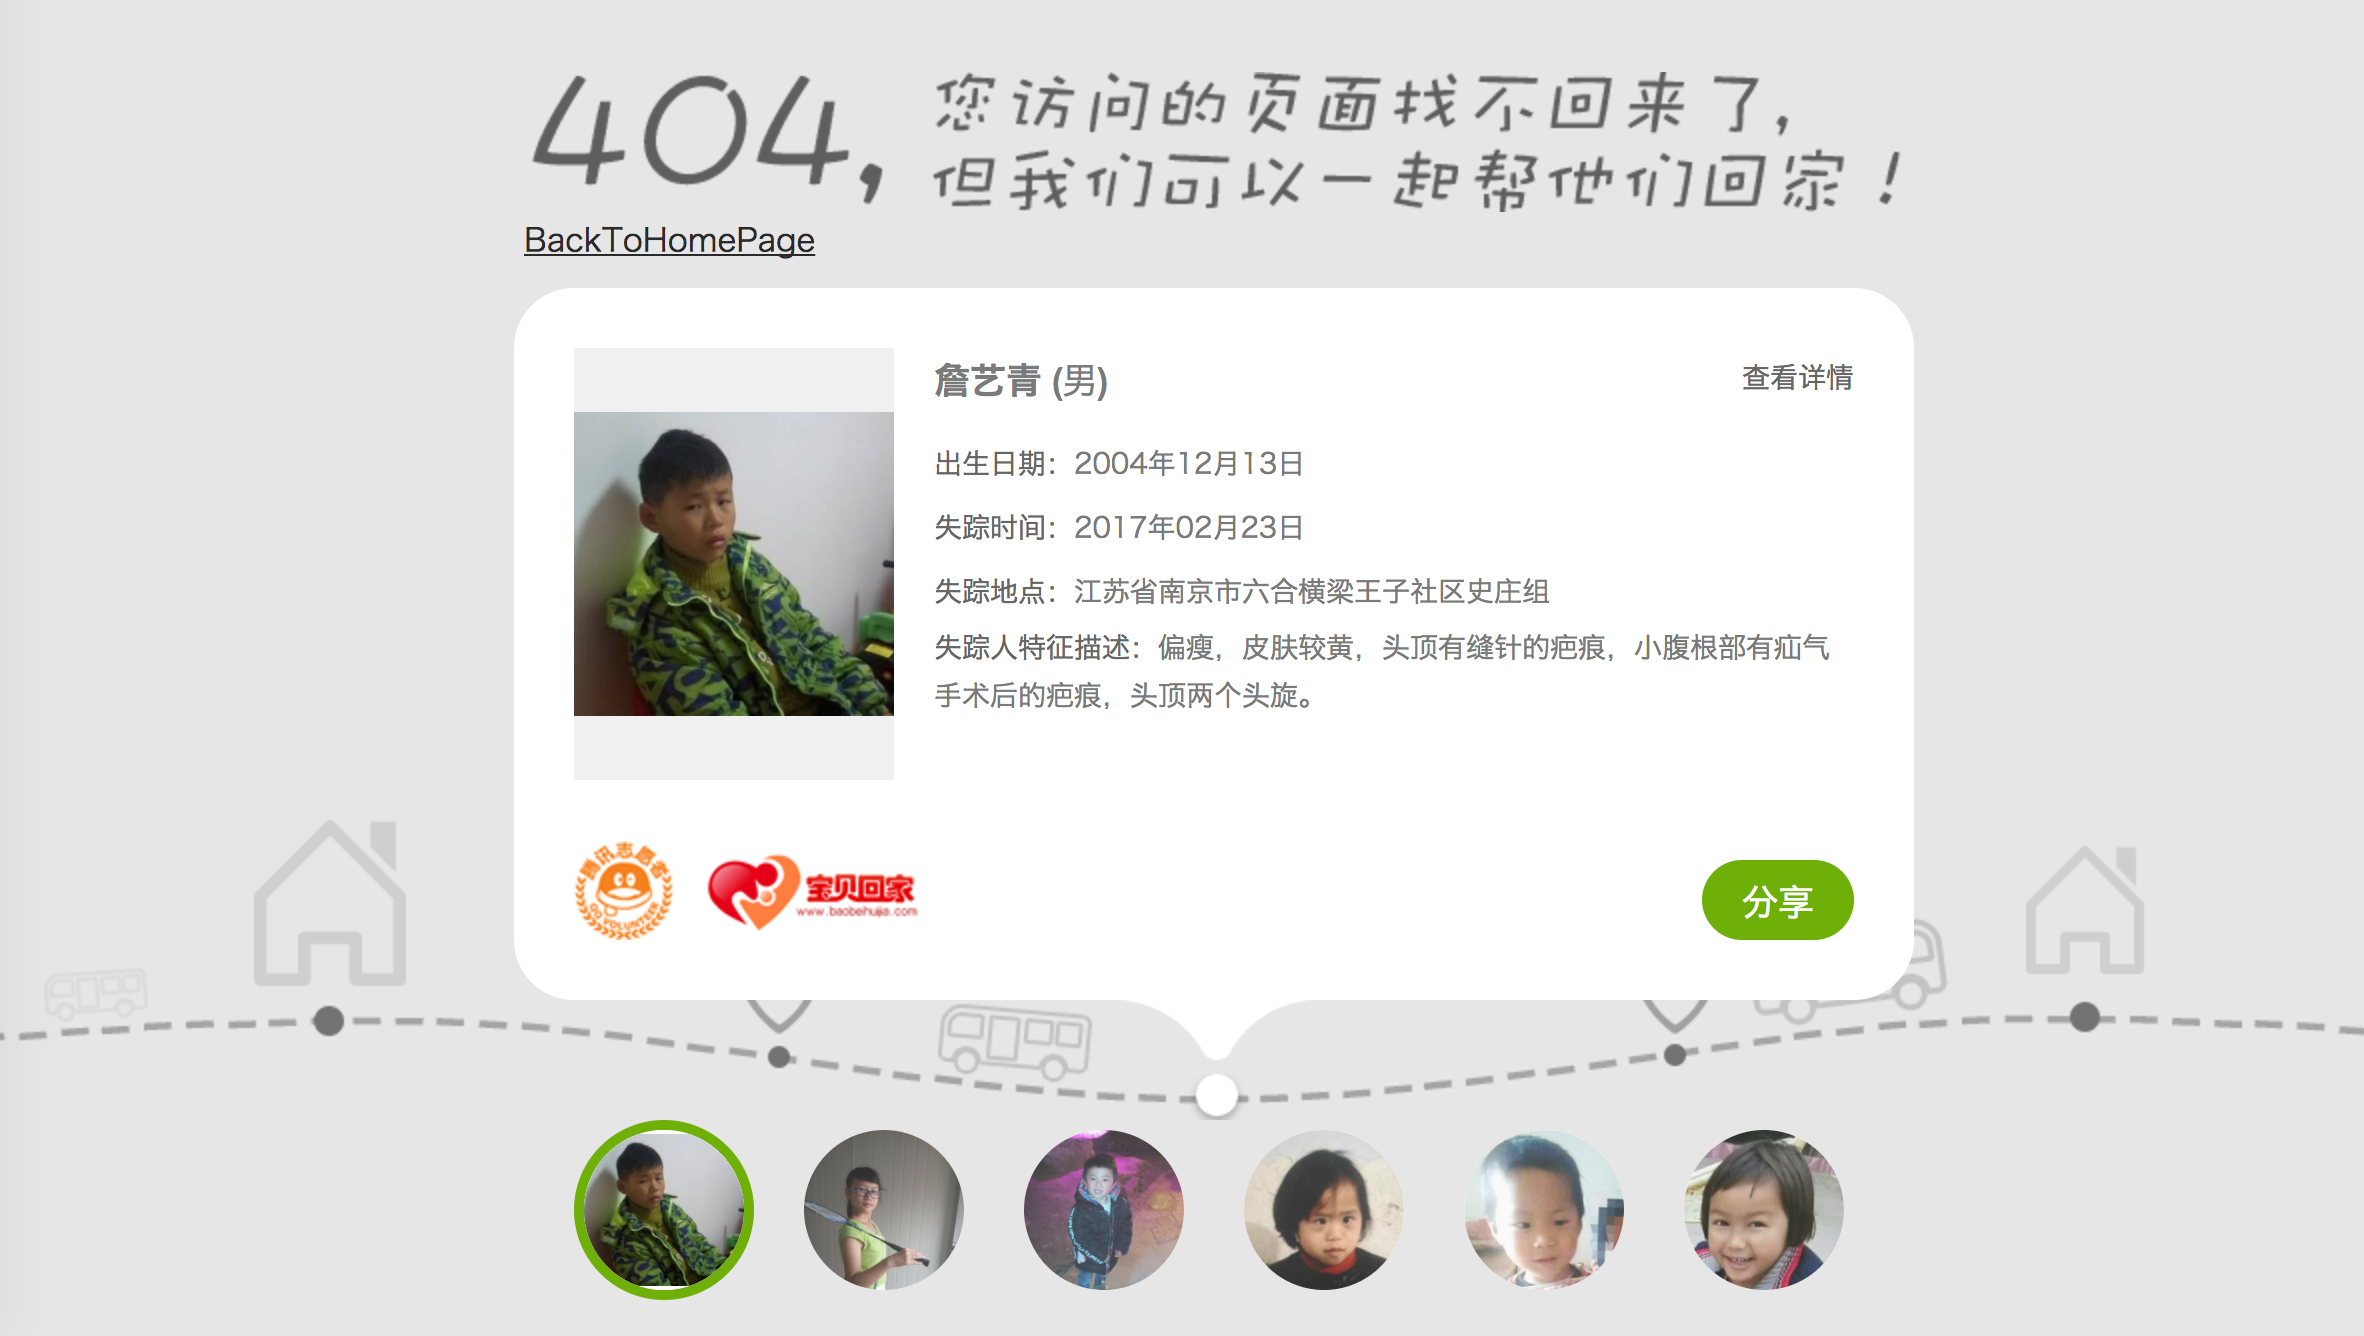
404页面

在主题目录新增404.html文件(配置为腾讯公益),内容为:

1
2
3
4
5
6
7
8
9
10
11
12
13
14
15
16
17
18
<!DOCTYPE HTML>
<html>
<head>
<meta http-equiv="content-type" content="text/html;charset=utf-8;"/>
<meta http-equiv="X-UA-Compatible" content="IE=edge,chrome=1" />
<meta name="robots" content="all" />
<meta name="robots" content="index,follow"/>
<link rel="stylesheet" type="text/css" href="https://qzone.qq.com/gy/404/style/404style.css">
</head>
<body>
<script type="text/plain" src="http://www.qq.com/404/search_children.js"
charset="utf-8" homePageUrl="/"
homePageName="BackToHomePage">
</script>
<script src="https://qzone.qq.com/gy/404/data.js" charset="utf-8"></script>
<script src="https://qzone.qq.com/gy/404/page.js" charset="utf-8"></script>
</body>
</html>

效果预览:

image

统计

百度统计

注册百度统计

获取统计串:

image

修改主题配置

主题配置文件中增加baidu_analytics配置。
注意:修改85c063245825f8a02c40f450c05f5d86为自己的串

1
2
# Baidu Analytics ID
baidu_analytics: 85c063245825f8a02c40f450c05f5d86

检查安装效果:

大概过20分钟,就可以去百度统计看到效果了。
image

更新

总结

引用

安装Hexo

hexo.io

hexo

安装 blog-admin 博客插件

Hexo的Next主题配置

Hexo(Pages)—优化博客

Hexo 插件

基于 Hexo 从零开始搭建个人博客(五)

0%